
Blue Muse blog on random bits & bytes.
Storme Workflow
by Dalmazio Brisinda
Today we give some sample workflows describing how one might use Storme in one's daily creative life.
Today I’d like to talk about using Storme. I won't get into all the features of Storme—we’ve produced an Apple help book for precisely that reason. Here instead, I will walk through some common workflows to acquaint readers with some of the things you can do with Storme.
One of the first things you probably want to do in Storme is begin adding media content to a blank canvas (a brainstorming session generally corresponds to a new notebook). At this stage the canvas is simply a deeply zoomable repository of inspiration from many media sources, including images, videos, music, text notes, or perhaps personal audio/video notes, or even web cam photos or web pages.
Once you have plenty of inspiring content, you might want to better organize that content so you can begin filtering it more easily. You can do this by selecting all your media (Command-A) and then selecting from the main menu Format › as Photo. Now you can begin selecting those items you wish to keep, copy and paste them (Command-C and Command-V) into a new media page. The idea is not to delete content in your notebooks, but rather to copy them to new media pages for further creative refinement. This allows you to keep a history of your creative process, which you can then present or share easily later. Storme can hold a lot of content, and uses light-weight core animation layers precisely for this reason. For example, adding 600 high-resolution images to a canvas still allows for fluid zooming and panning.
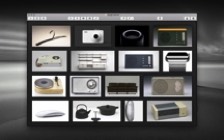
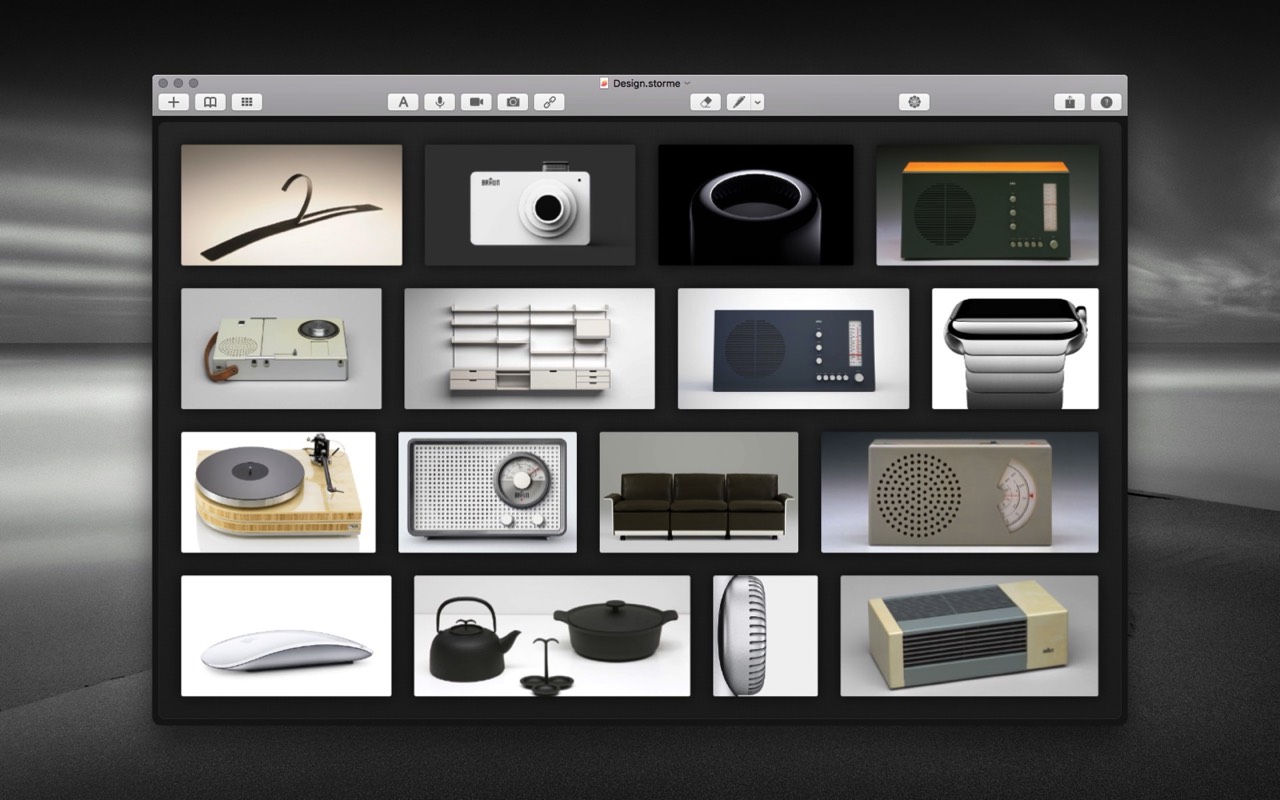
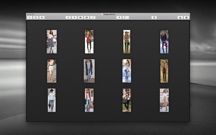
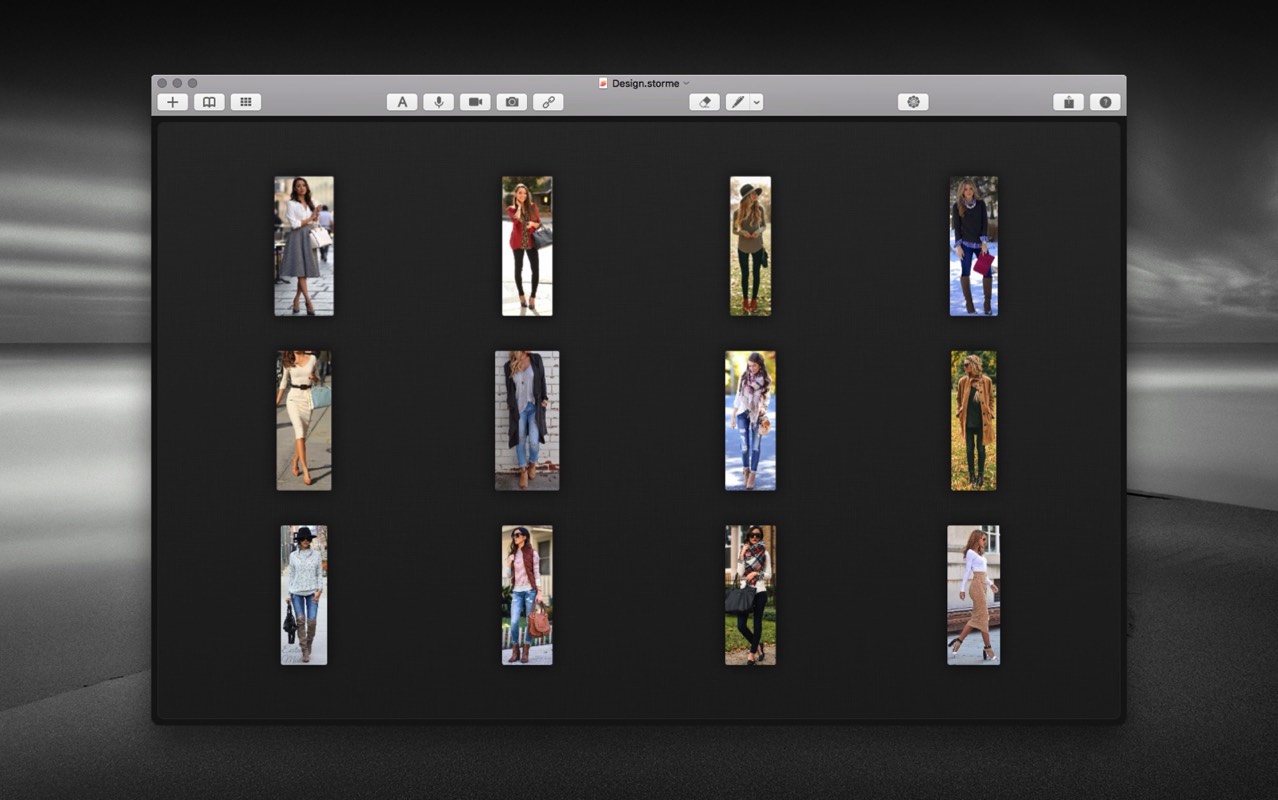
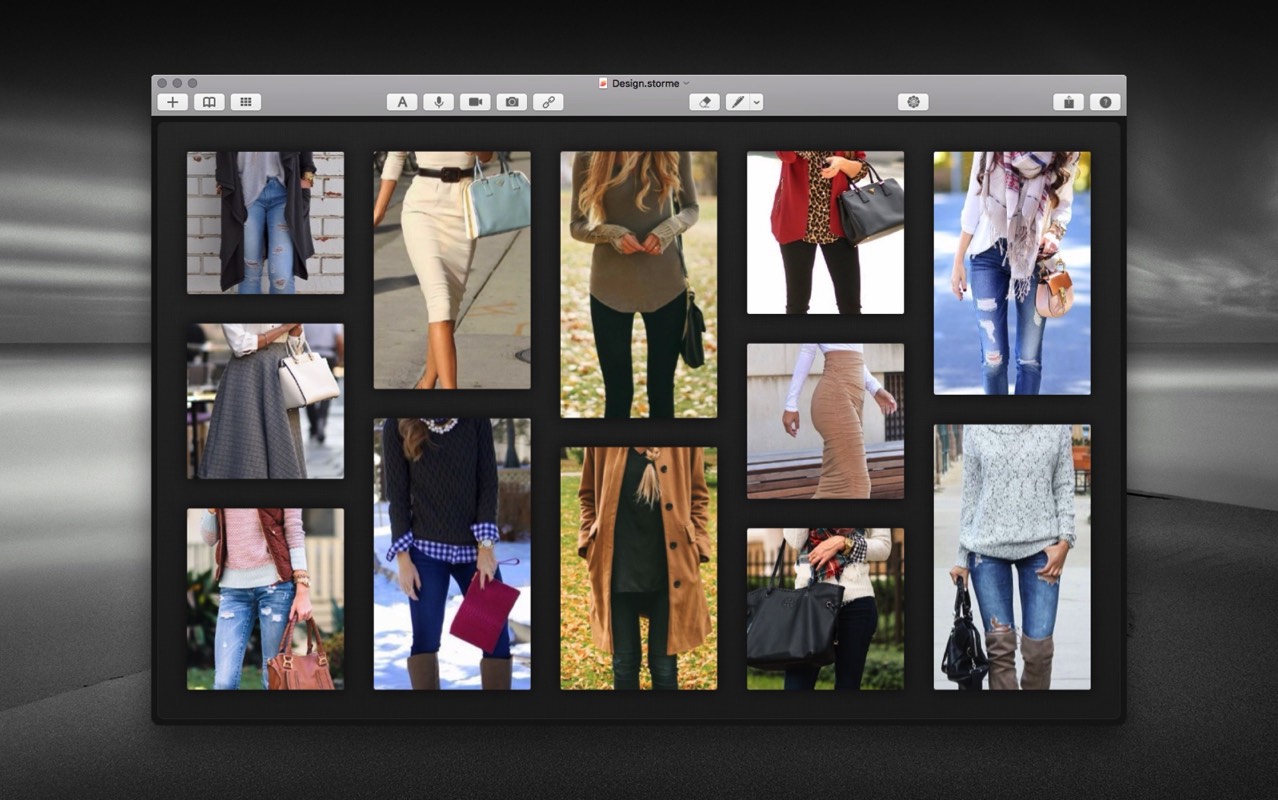
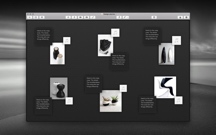
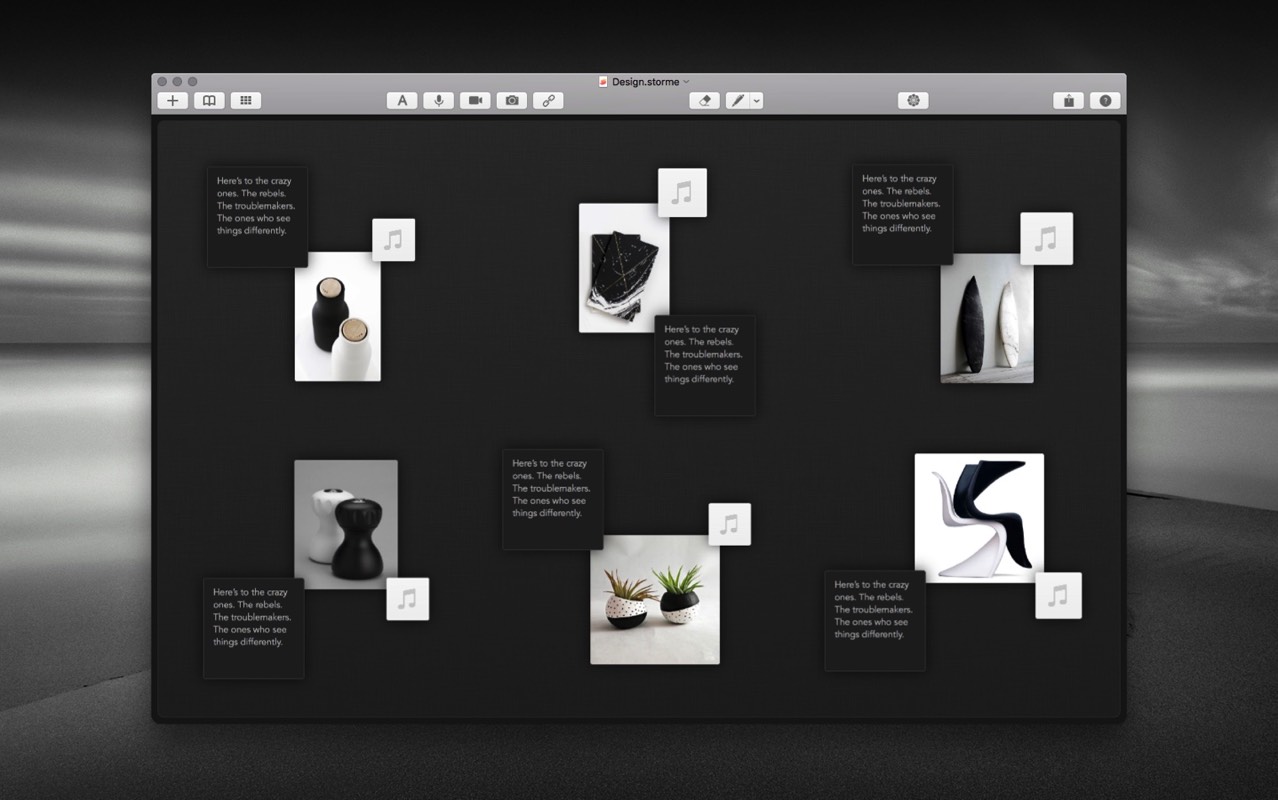
Once you’ve reduced your content, you can once again apply a formatting option from the Format menu to better visualize it. For example, for images whose content of interest occupies a tall narrow portion of the image (such as fashion photos), formatting as Vertical Flex is useful for presenting media in an attractive flexible vertical grid. Similarly, for images whose content of interest occupies wide short portions of the image (such as panoramas), formatting as Horizontal Flex is more appropriate. Images whose content of interest is roughly evenly tall and wide, can be formatted as Fixed which presents selections in an Instagram-style fixed grid. From here you can further refine short-list candidates, repeating the procedure from previously, selecting images that you want to keep, either by Shift+drag selecting, or Command+drag to add to the current selection in a different part of the canvas. When you've made your selection, as before, simply copy and paste to an empty media page.
One useful feature for content presentation is swapping media items. This is especially useful when working with a grid. You might find that the automatic formatting causes some image content to be clipped if it is especially tall or wide, and you would prefer if a specific image had more vertical or horizontal space. Select the two media items you wish to swap, and click the Swap menu item in the context menu. Voilà.
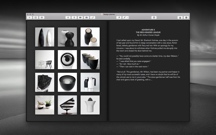
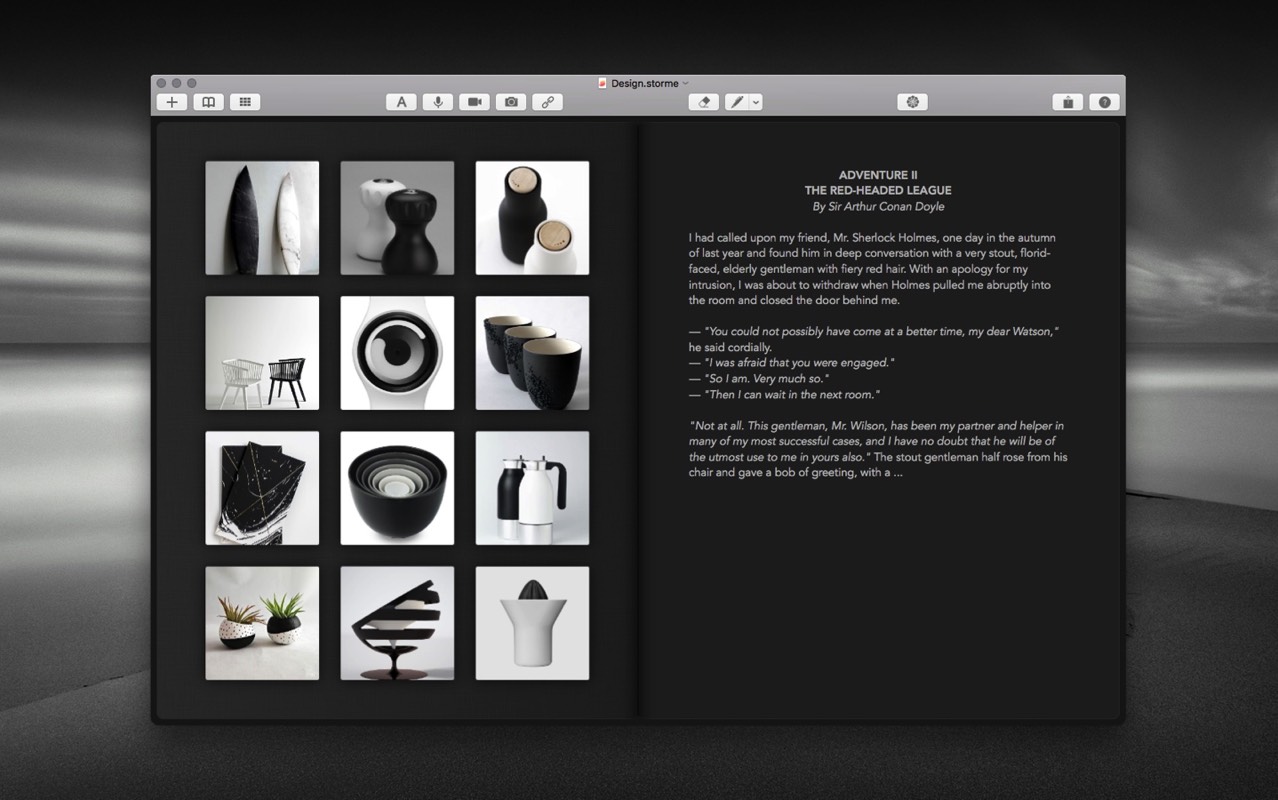
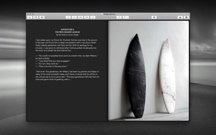
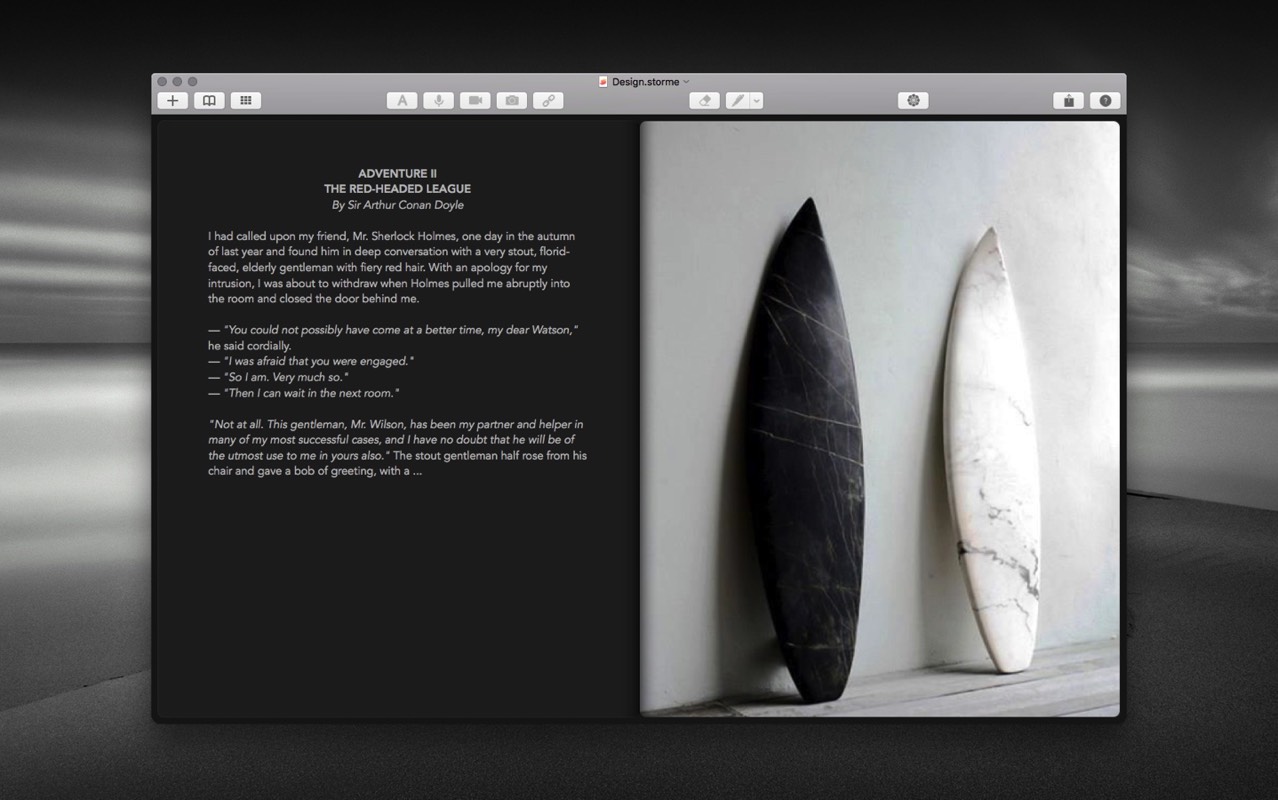
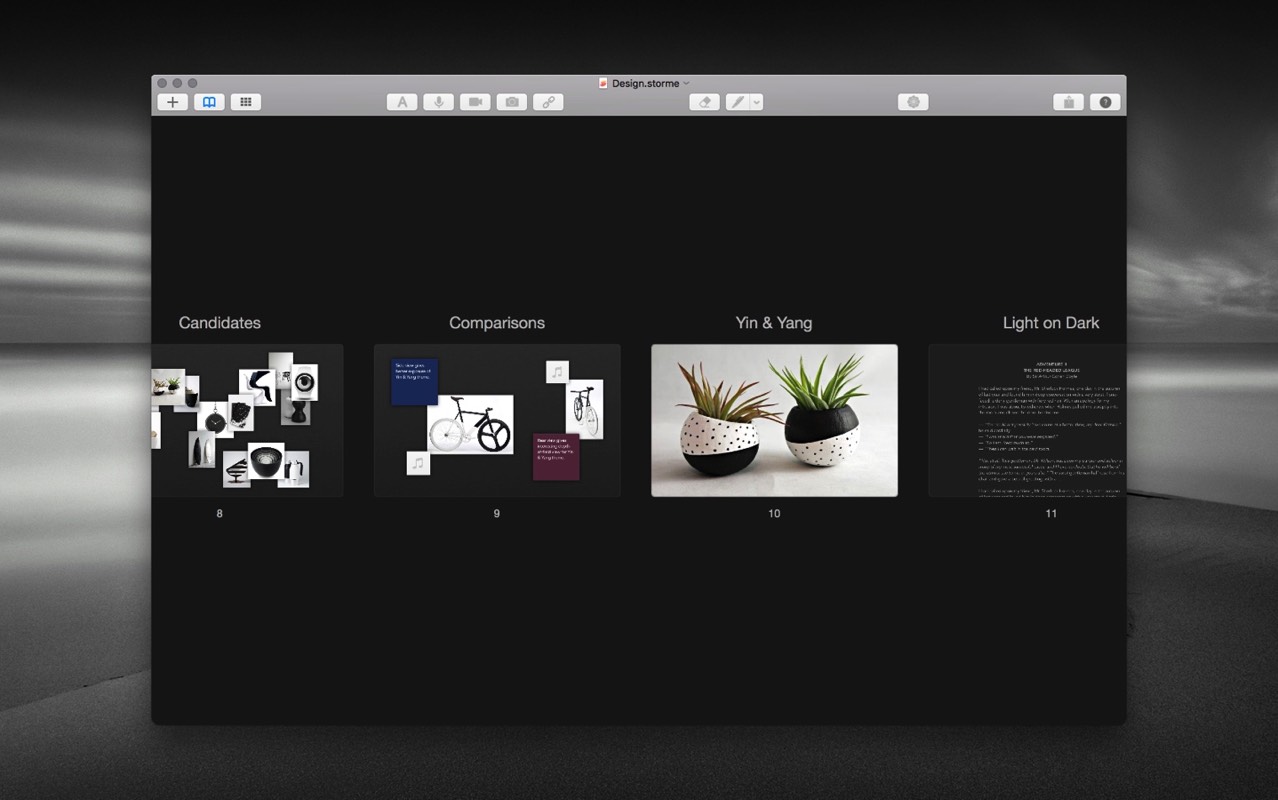
When you’ve reduced your short-list candidate media content to a manageable subset, you might want to start involving other forms of organization. For example, you might want to add text notes, highlighting the qualities of certain media items. Or you might want to add a facing text page, to really drill down into some verbal details. It really helps to have the visual content right there in a facing page for you to explore your musings. This might result in further refinement of your creative process, and cause a further subset of media content to make it into a new media page.
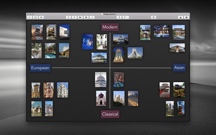
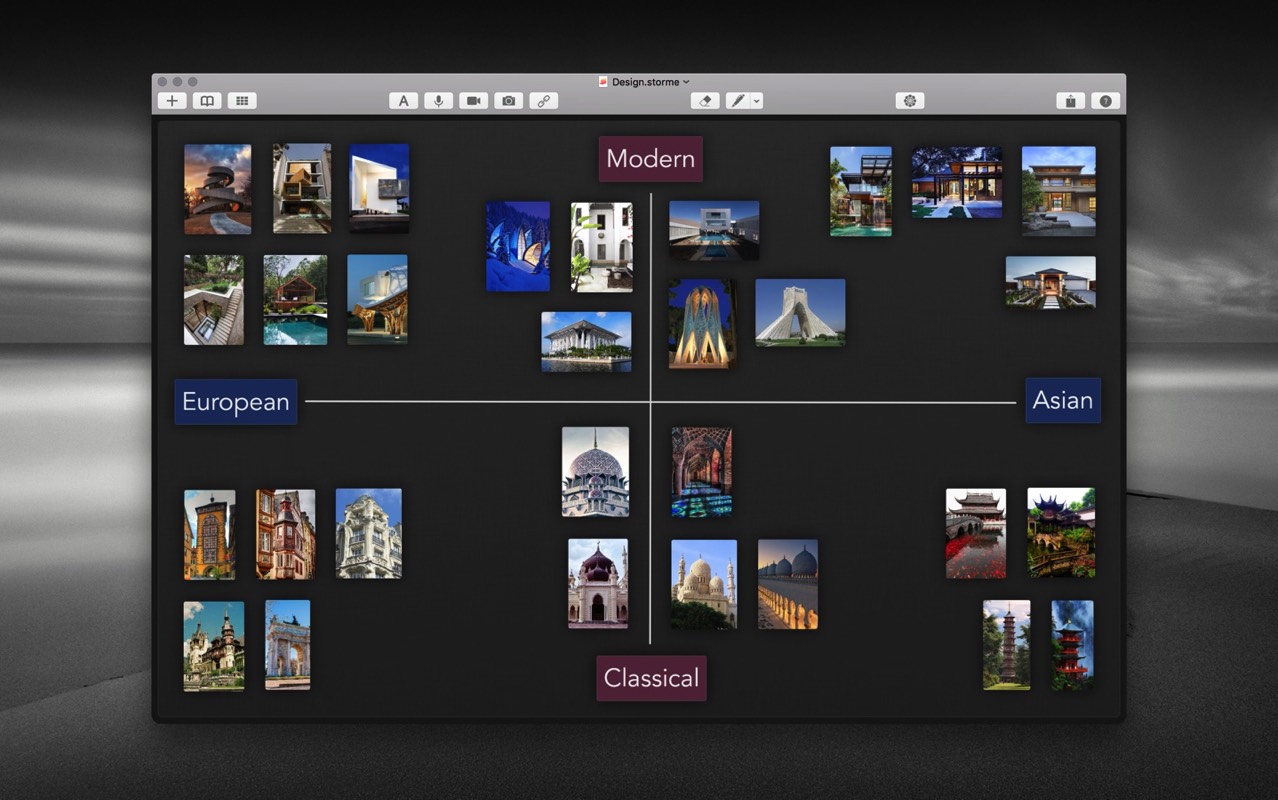
At some point, you may wish to employ some charting to further help identify a short-list of candidate media content for a given brainstorm session. Perhaps a four quadrant chart that groups content into four unique categories. For example, if you are working with fashion, you might want to chart professional v. casual on one axis and elegant v. alluring on the other axis. Or for architecture, modern v. classical, and Asian v. European. You can then move media to the appropriate quadrant to help organize and help identify suitable media content further.
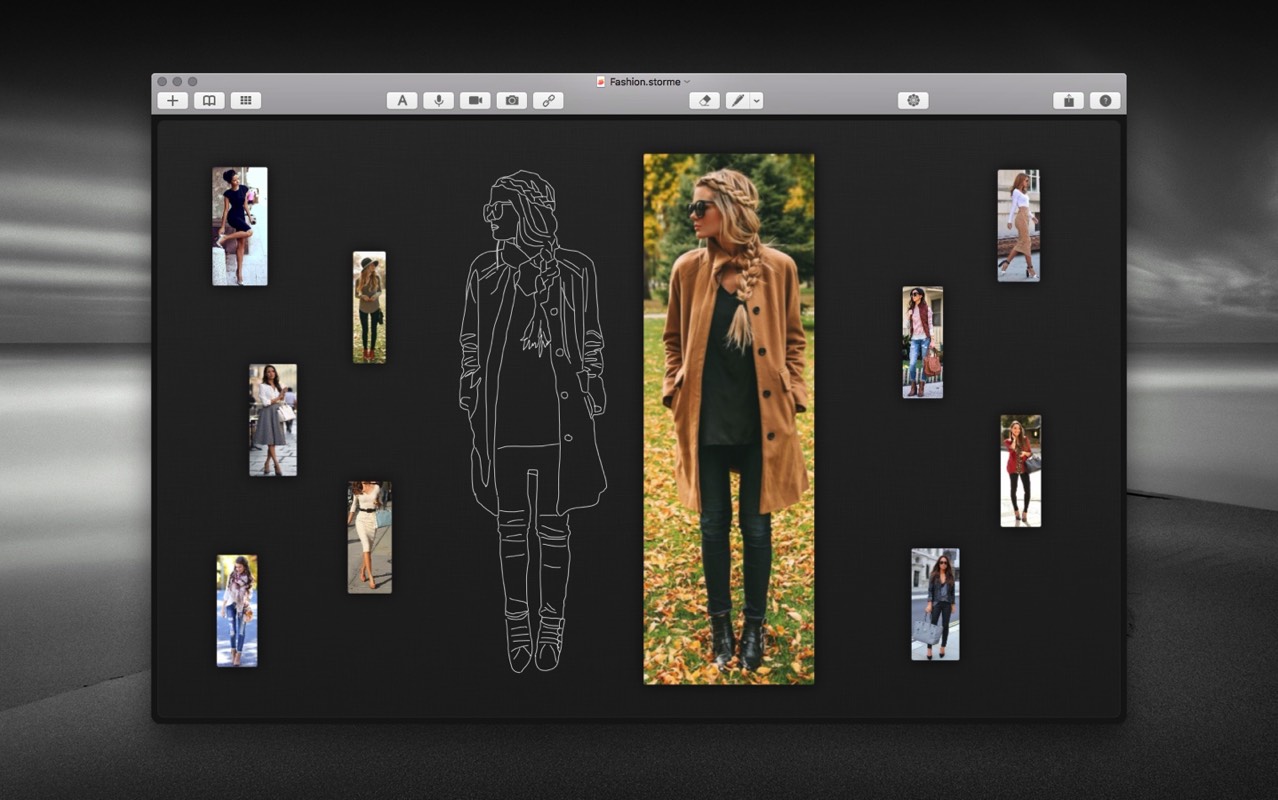
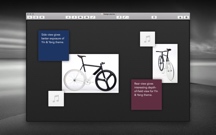
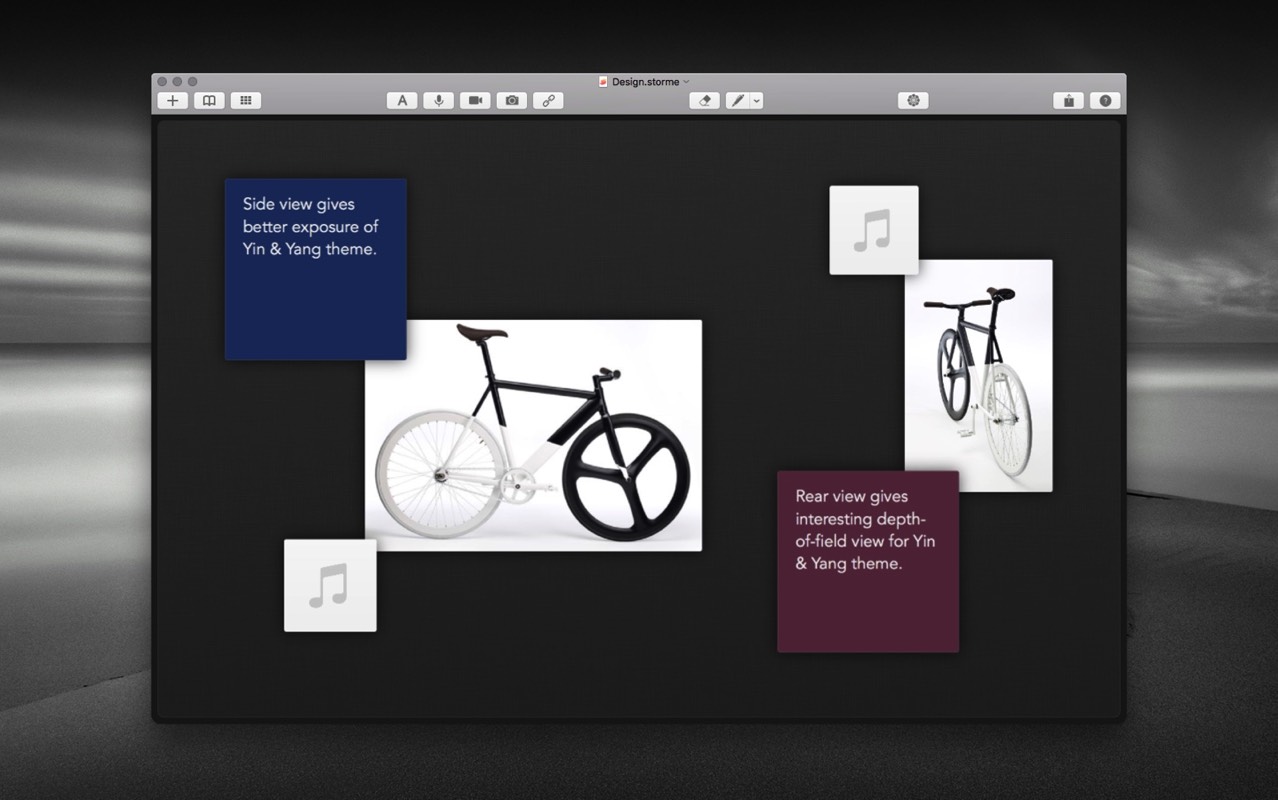
If we are working with visuals, we may wish to employ the drawing tool to trace overtop an existing image or video frame. Capturing the lines of a new item of fashion, or the broad structure of an element of architecture, you can have a starting point for subsequent detailed modifications and designs. Once captured, you can move the underlying media out of the way, and begin modifying or adapting the sketch to suit your own purposes. Perhaps a new type of garment, or product, or some new architectural design. At anytime, you can move the original media content back underneath the drawing, to capture more detail, or see how your modified version compares with the original.
Another use of the drawing tool is for making annotations, or specifying relationships between media items. For example, those mosaic wall investigation boards that we’ve seen in popular film. Trying to understand the relationships between things is difficult when there are many items. Storme can help with this: drop into a media page your photos, video, audio, notes, etc., and create color coded relationships between them, like pieces of colored yarn relating media items. Perhaps one line color would represent one type of relationship, and a different line color, yet another type of relationship.
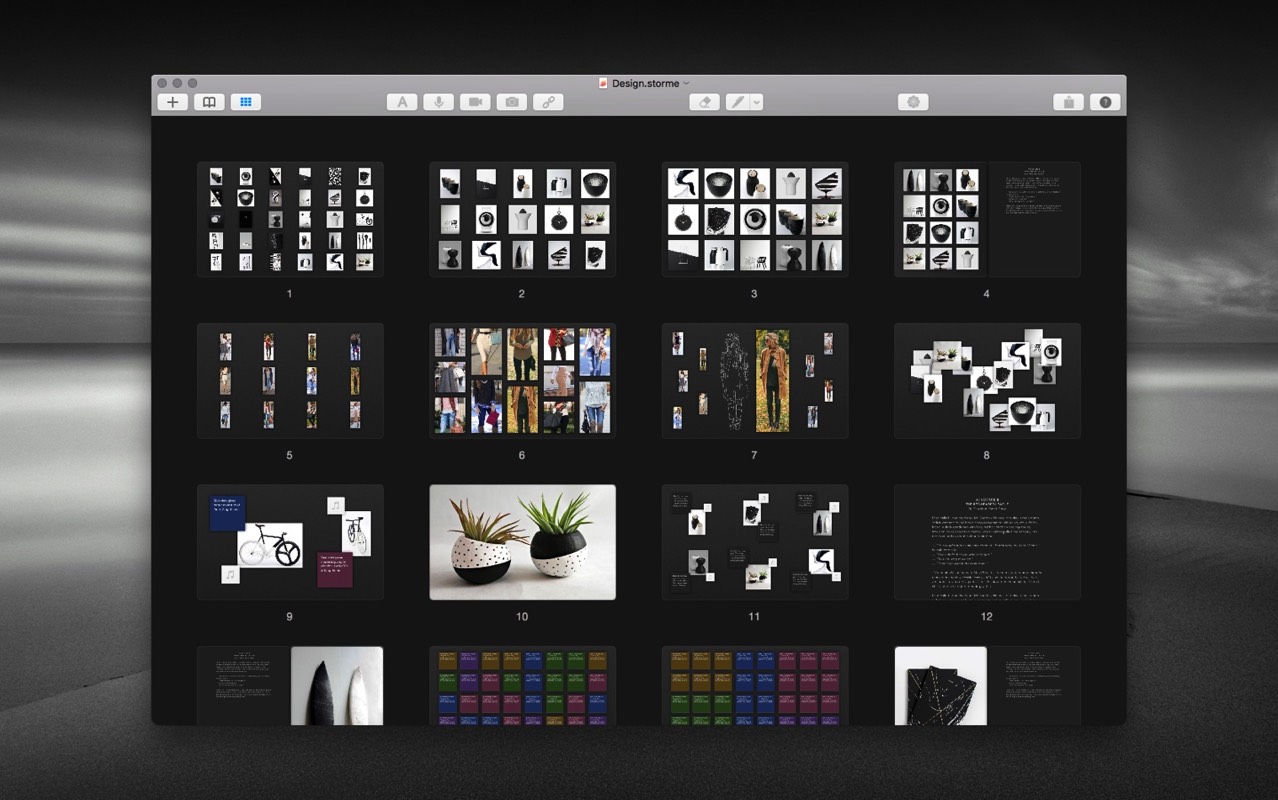
As you develop your ideas, you might wish to explore several variations on a theme, which is quite common in brainstorming sessions. Instead of starting from scratch with each iteration or variation, you can simply open the page thumbnails view, and select those pages you wish to duplicate, and move them anywhere in your notebook. The complete contents of a media page and/or text page are copied, including all media and drawings. You can then edit them at will to create many variations on a theme.
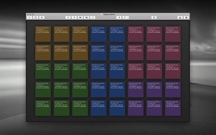
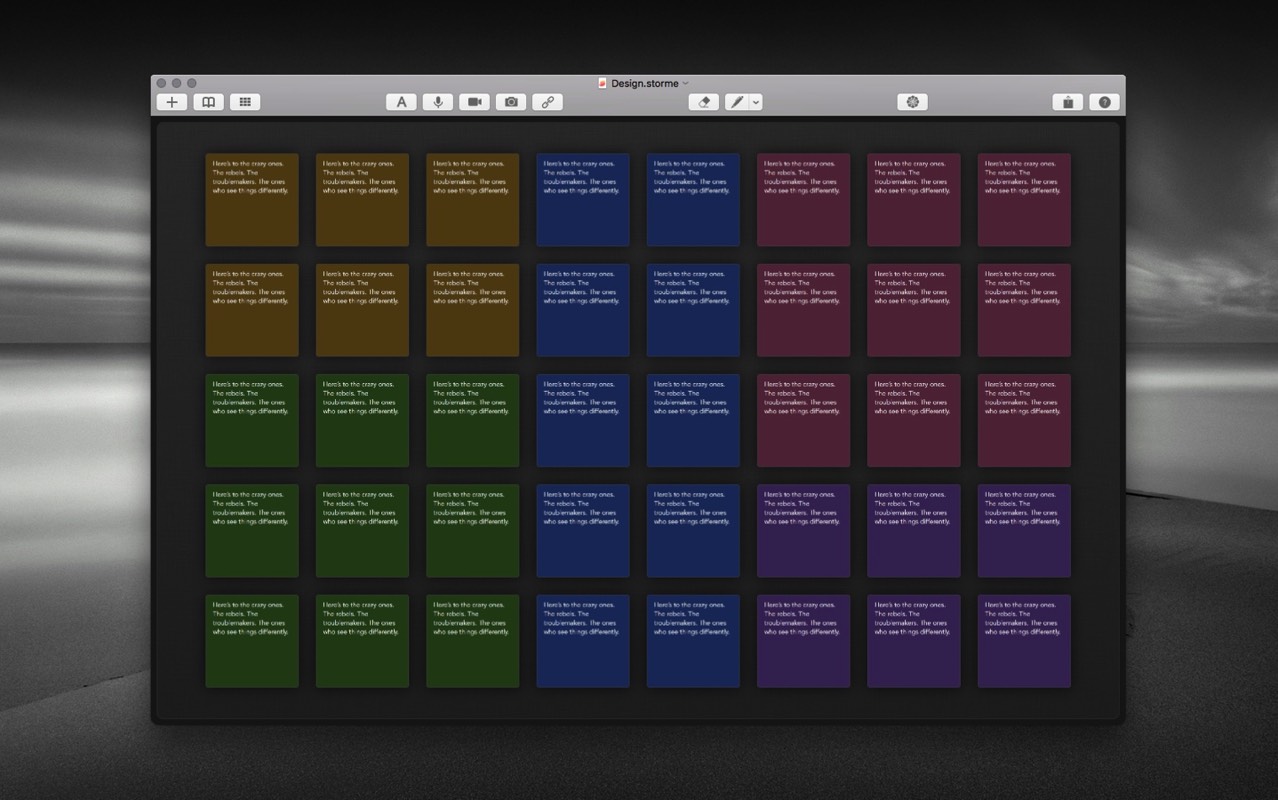
One very common way people use whiteboards is by attaching dozens of sticky notes to them with descriptive text. Storme supports this by allowing you to add text notes, editing them, changing their text and color, and formatting them into a fixed grid using the Format › as Fixed formatting option, or just laying them out free form. You can also use the drawing tool to create columns or rows with descriptive labels assigning text notes to appropriate columns or rows for greater clarity and organization.
If you are a verbal thinker, you may want to include more text than just a few annotations and text notes. For example, you might want to delve into the details for your choices of media, color, swatches, style, etc. You can add a facing text page, and write a few paragraphs explaining in more detail your thinking, all while keeping your visual content in full view. Or, if you prefer to explore your verbal musings without visual distractions, add a standalone text page and go fullscreen with beautiful large text, which automatically adjusts in scale to maintain line length and paragraph width.
Lastly, your creative brainstorm sessions are of limited value if you are unable to share them. Storme supports comprehensive sharing, including sharing of individual media items, individual left or right facing pages, complete notebook pages, as well as any selection of notebook pages. You can share by many of the popular social media platforms, including Email, Messages, Notes, Twitter, Facebook, and myriad others. You might also choose to print your notebooks, which is fully supported. Check out the Storme printing options in the Apple help book accessible from the Help menu for various types of bordered or borderless printing.
Now, get brainstorming.
One of the first things you probably want to do in Storme is begin adding media content to a blank canvas (a brainstorming session generally corresponds to a new notebook). At this stage the canvas is simply a deeply zoomable repository of inspiration from many media sources, including images, videos, music, text notes, or perhaps personal audio/video notes, or even web cam photos or web pages.
Once you have plenty of inspiring content, you might want to better organize that content so you can begin filtering it more easily. You can do this by selecting all your media (Command-A) and then selecting from the main menu Format › as Photo. Now you can begin selecting those items you wish to keep, copy and paste them (Command-C and Command-V) into a new media page. The idea is not to delete content in your notebooks, but rather to copy them to new media pages for further creative refinement. This allows you to keep a history of your creative process, which you can then present or share easily later. Storme can hold a lot of content, and uses light-weight core animation layers precisely for this reason. For example, adding 600 high-resolution images to a canvas still allows for fluid zooming and panning.
Once you’ve reduced your content, you can once again apply a formatting option from the Format menu to better visualize it. For example, for images whose content of interest occupies a tall narrow portion of the image (such as fashion photos), formatting as Vertical Flex is useful for presenting media in an attractive flexible vertical grid. Similarly, for images whose content of interest occupies wide short portions of the image (such as panoramas), formatting as Horizontal Flex is more appropriate. Images whose content of interest is roughly evenly tall and wide, can be formatted as Fixed which presents selections in an Instagram-style fixed grid. From here you can further refine short-list candidates, repeating the procedure from previously, selecting images that you want to keep, either by Shift+drag selecting, or Command+drag to add to the current selection in a different part of the canvas. When you've made your selection, as before, simply copy and paste to an empty media page.
One useful feature for content presentation is swapping media items. This is especially useful when working with a grid. You might find that the automatic formatting causes some image content to be clipped if it is especially tall or wide, and you would prefer if a specific image had more vertical or horizontal space. Select the two media items you wish to swap, and click the Swap menu item in the context menu. Voilà.
When you’ve reduced your short-list candidate media content to a manageable subset, you might want to start involving other forms of organization. For example, you might want to add text notes, highlighting the qualities of certain media items. Or you might want to add a facing text page, to really drill down into some verbal details. It really helps to have the visual content right there in a facing page for you to explore your musings. This might result in further refinement of your creative process, and cause a further subset of media content to make it into a new media page.
At some point, you may wish to employ some charting to further help identify a short-list of candidate media content for a given brainstorm session. Perhaps a four quadrant chart that groups content into four unique categories. For example, if you are working with fashion, you might want to chart professional v. casual on one axis and elegant v. alluring on the other axis. Or for architecture, modern v. classical, and Asian v. European. You can then move media to the appropriate quadrant to help organize and help identify suitable media content further.
If we are working with visuals, we may wish to employ the drawing tool to trace overtop an existing image or video frame. Capturing the lines of a new item of fashion, or the broad structure of an element of architecture, you can have a starting point for subsequent detailed modifications and designs. Once captured, you can move the underlying media out of the way, and begin modifying or adapting the sketch to suit your own purposes. Perhaps a new type of garment, or product, or some new architectural design. At anytime, you can move the original media content back underneath the drawing, to capture more detail, or see how your modified version compares with the original.
Another use of the drawing tool is for making annotations, or specifying relationships between media items. For example, those mosaic wall investigation boards that we’ve seen in popular film. Trying to understand the relationships between things is difficult when there are many items. Storme can help with this: drop into a media page your photos, video, audio, notes, etc., and create color coded relationships between them, like pieces of colored yarn relating media items. Perhaps one line color would represent one type of relationship, and a different line color, yet another type of relationship.
As you develop your ideas, you might wish to explore several variations on a theme, which is quite common in brainstorming sessions. Instead of starting from scratch with each iteration or variation, you can simply open the page thumbnails view, and select those pages you wish to duplicate, and move them anywhere in your notebook. The complete contents of a media page and/or text page are copied, including all media and drawings. You can then edit them at will to create many variations on a theme.
One very common way people use whiteboards is by attaching dozens of sticky notes to them with descriptive text. Storme supports this by allowing you to add text notes, editing them, changing their text and color, and formatting them into a fixed grid using the Format › as Fixed formatting option, or just laying them out free form. You can also use the drawing tool to create columns or rows with descriptive labels assigning text notes to appropriate columns or rows for greater clarity and organization.
If you are a verbal thinker, you may want to include more text than just a few annotations and text notes. For example, you might want to delve into the details for your choices of media, color, swatches, style, etc. You can add a facing text page, and write a few paragraphs explaining in more detail your thinking, all while keeping your visual content in full view. Or, if you prefer to explore your verbal musings without visual distractions, add a standalone text page and go fullscreen with beautiful large text, which automatically adjusts in scale to maintain line length and paragraph width.
Lastly, your creative brainstorm sessions are of limited value if you are unable to share them. Storme supports comprehensive sharing, including sharing of individual media items, individual left or right facing pages, complete notebook pages, as well as any selection of notebook pages. You can share by many of the popular social media platforms, including Email, Messages, Notes, Twitter, Facebook, and myriad others. You might also choose to print your notebooks, which is fully supported. Check out the Storme printing options in the Apple help book accessible from the Help menu for various types of bordered or borderless printing.
Now, get brainstorming.