Adding notes and captures
Storme allows you to add several types of user-created media. The toolbar shows a group of buttons that are enabled when a media page has focus.

These buttons allow you to add the following types of user-created content to a media page:
- Text notes
- Audio notes
- Video notes
- Photo captures
- Web page captures
Hover over any button for a couple of seconds to reveal their tool tips.
You can also add notes and captures by selecting the desired note or capture from the Add context menu of the media page canvas.
Text notes
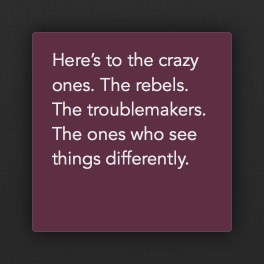
After clicking the add text note button in the toolbar, a text note is added to the canvas in the default color scheme. You can edit the text note by double-clicking it. It will zoom to occupy much of the view for focused editing. To insert a newline when editing text notes, press Option (⌥)-Enter.
While editing the text note, you can also change the text note background color or font properties using the standard font and color panels. Just press Command (⌘)-T to open the font panel, or open the font panel through the Format > Text > Show Fonts menu item.
On the font panel, clicking the background color button brings up a color panel which allows you to change the text note background color. Clicking the text color button allows you to change the text note foreground color for the currently selected text. You may also add bold, italic, underline, and other common text formatting properties to the current text note selection through the Format > Text menu or its shortcuts.
When you are finished editing the text note, simply press Enter for the changes to take effect. Or press Escape at any time to cancel all editing.
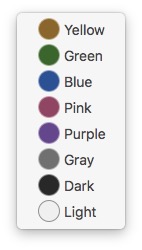
There are also several preset color schemes for text notes. Open the context menu on the text note whose color scheme you wish to change, and select a new color scheme from the Change to Color context menu.
You can also remove any font, attribute, or color formatting with a single click by selecting Make Plain Text from the text note’s context menu.
Both changing the color scheme and making plain text apply to both individual text notes and to a selection of text notes.
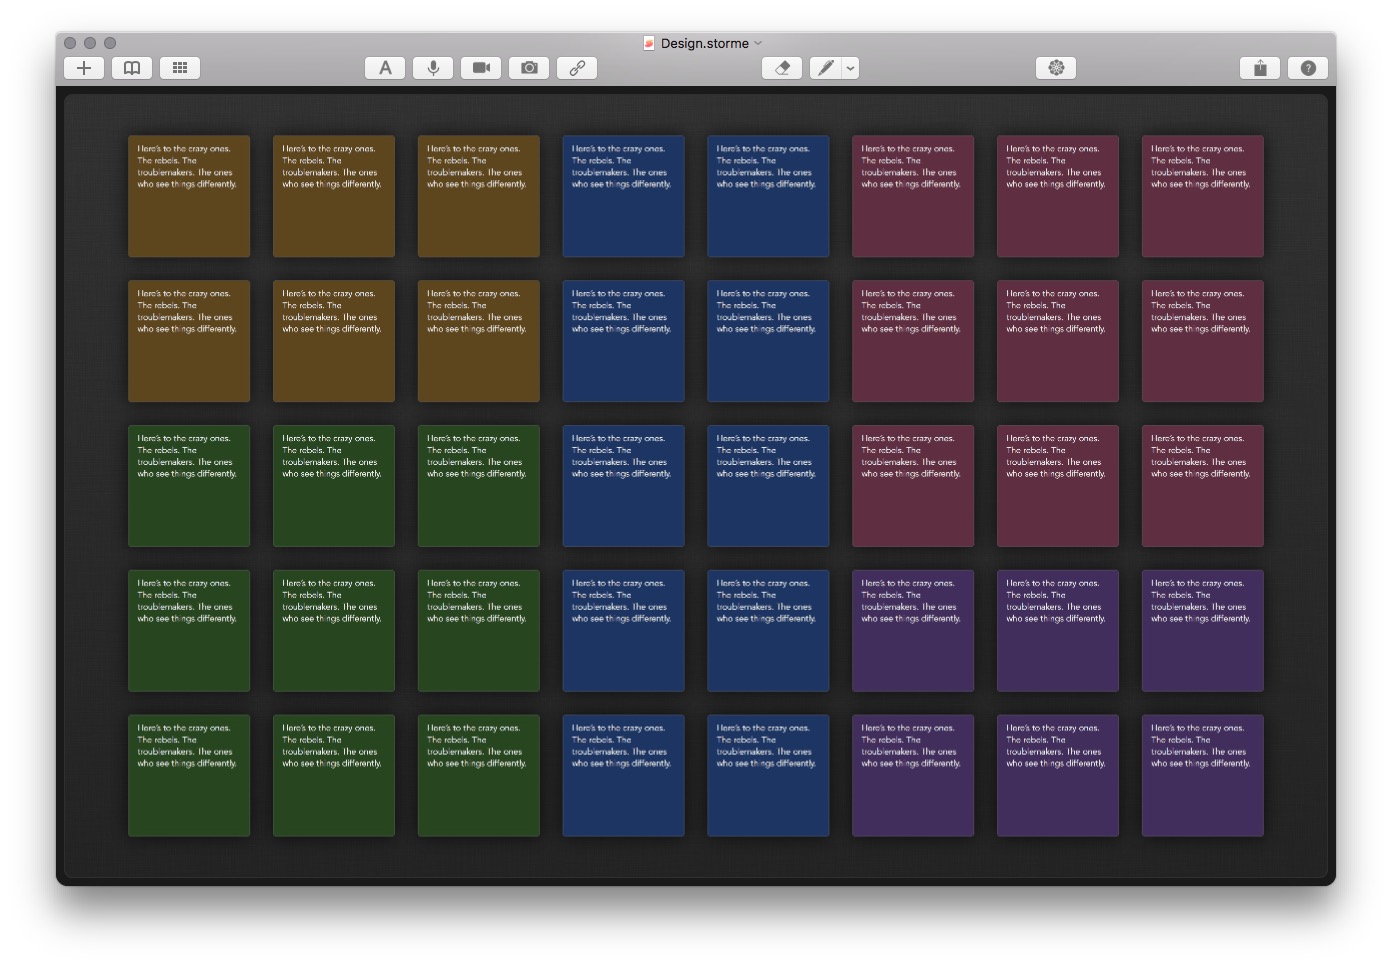
Here’s an example of a note board that was easily created by adding a number of notes; selecting them; choosing Format > as Fixed from the main menu; then selecting a few at a time to change their preset color schemes.
Audio notes
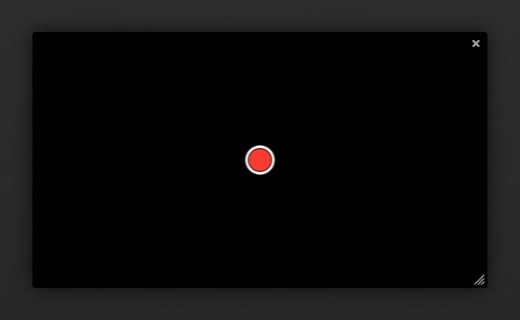
After clicking the add audio note button in the toolbar, an audio capture session is added to the canvas. You can begin recording your audio by pressing the record button on the audio capture session.
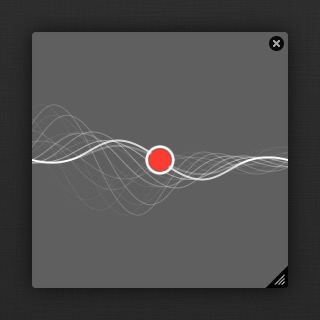
When you are finished recording your audio note, press the stop button, and the audio capture session will be replaced with your audio note, complete with identifying information in the header, and a media scrubber in the footer.
Video notes
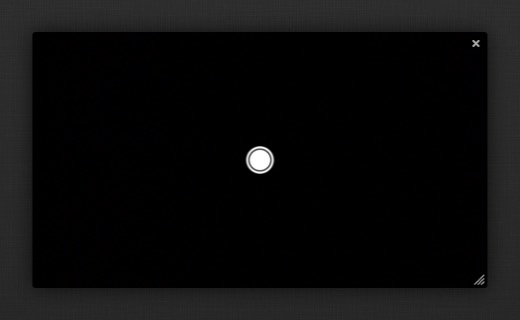
Adding video notes is much the same as adding audio notes. After clicking the add video note button in the toolbar, a video capture session is added to the canvas. You can begin recording your video by pressing the record button on the video capture session.1
When you are finished recording your video note, press the stop button, and the video capture session will be replaced with your video note, complete with identifying information in the header, and a media scrubber in the footer.
Photo captures
After clicking the add photo capture button in the toolbar, a photo capture session is added to the canvas. You can capture a photo by pressing the button on the photo capture session. A photo will be taken, and the photo capture session will be replaced with your captured photo.1
Web page captures
When you click the add web page capture button, a sheet will appear asking you for the URL of the web page. Copy and paste a URL or type one by hand, and press Enter. An image representation of the web page will be added to the workspace.
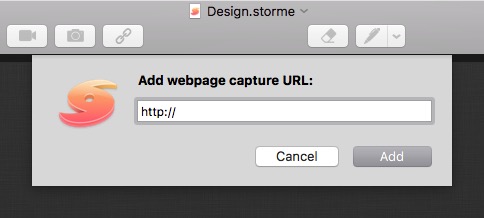
It may take a few moments for the web page to appear, especially if the web page is large with a lot of visual content. Once it appears, you can manipulate it as you would any other image.
You can also drag and drop a URL from your web browser’s address bar onto the canvas directly.
You can truncate the captured web page so it shows only the first page of web content by selecting Truncate Web Page from its context menu. You can also reload the web page at any time by selecting Reload Web Page from the context menu.
See also
Formatting media
Manpulating media