Printing
Storme supports printing your whiteboard creations to physical pages and notebooks. In order to support a variety of page sizes and proper resizing of graphial canvas elements, Storme implements a WYSIWYG printing workflow.
What this means to you is that in order to avoid any unsightly whitespace around printed content due to differences between the print page aspect ratio and the notebook page aspect ratio, you must first make their aspect ratios the same.
You can do this by simply pressing Control (⌃) while resizing the window. The window will be resized to the current print page aspect ratio accounting for any margins that were specified in the Page Setup sheet.
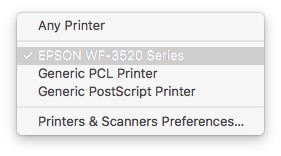
Be sure to choose a specific printer from the Page Setup sheet and not the Any Printer default as it will make assumptions on the imageable page area that may not be correct, resulting in unsightly whitespace or truncated content on one or more page edges.
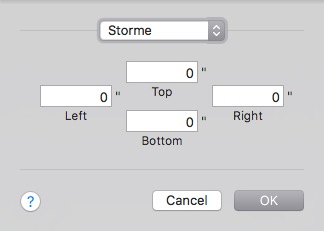
If you want to change the paper size or page margins, select Page Setup in the File menu and make the necessary changes in the sheet provided. Margin settings are accessed from the Page Setup Storme pane and are measured in inches. Once you’ve finished making page layout modifications, click OK.
As before, in order to make the print page aspect ratio and notebook page aspect ratio match, press Control (⌃) while resizing the notebook window. You will now get maximum print page coverage of notebook pages using the supplied page settings.1
After resize the window all high resolution page thumbnails will be regenerated (which may take a few seconds if you have many pages with a lot of content on them). Voila. You can now print your notebook pages so that they will appear beautifully formatted.
Adding virtual printers
If you don’t have a printer, add a virtual PostScript printer or virtual PCL printer so you can print to PDF and avoid using the Any Printer default selection in the Page Setup sheet which often makes incorrect assumptions on the maximum imageable page area, especially when small or no margins are specified.
To add a virtual PostScript printer follow these steps:
- Select Printers and Scanners in System Preferences
- Click the ‘+’ button under Printers
- Select the popup button Add Printer or Scanner…
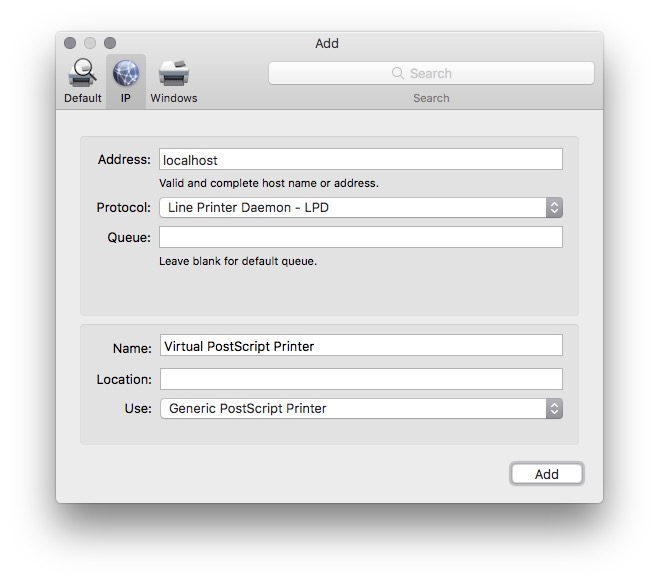
- Select the IP pane in the toolbar
- Enter localhost in the address field
- Select the protocol popup Line Printer Damon - LPD
- Name the printer (e.g. “Virtual PostScript Printer”)
- Set the Use: popup to Generic PostScript Printer
- Click the Add button
To add a virtual PCL printer follow the sames steps as for adding a virtual PostScript printer, except replacing steps 7-9 with the following steps instead:
- Name the printer (e.g. “Virtual PCL Printer”)
- Set the Use: popup to Generic PCL Printer
- Click the Add button
See also
Notes
-
You may wish to give your notebook pages a quick visual scan to ensure they still look good if the window resize dramatically changed the aspect ratio and/or dimensions of the window. All printing is WYSIWYG. ↩